Quick start: the app
ruby exe/harnessThis starts the local app on http://127.0.0.1:4567/ and, on first start, opens your browser.
-
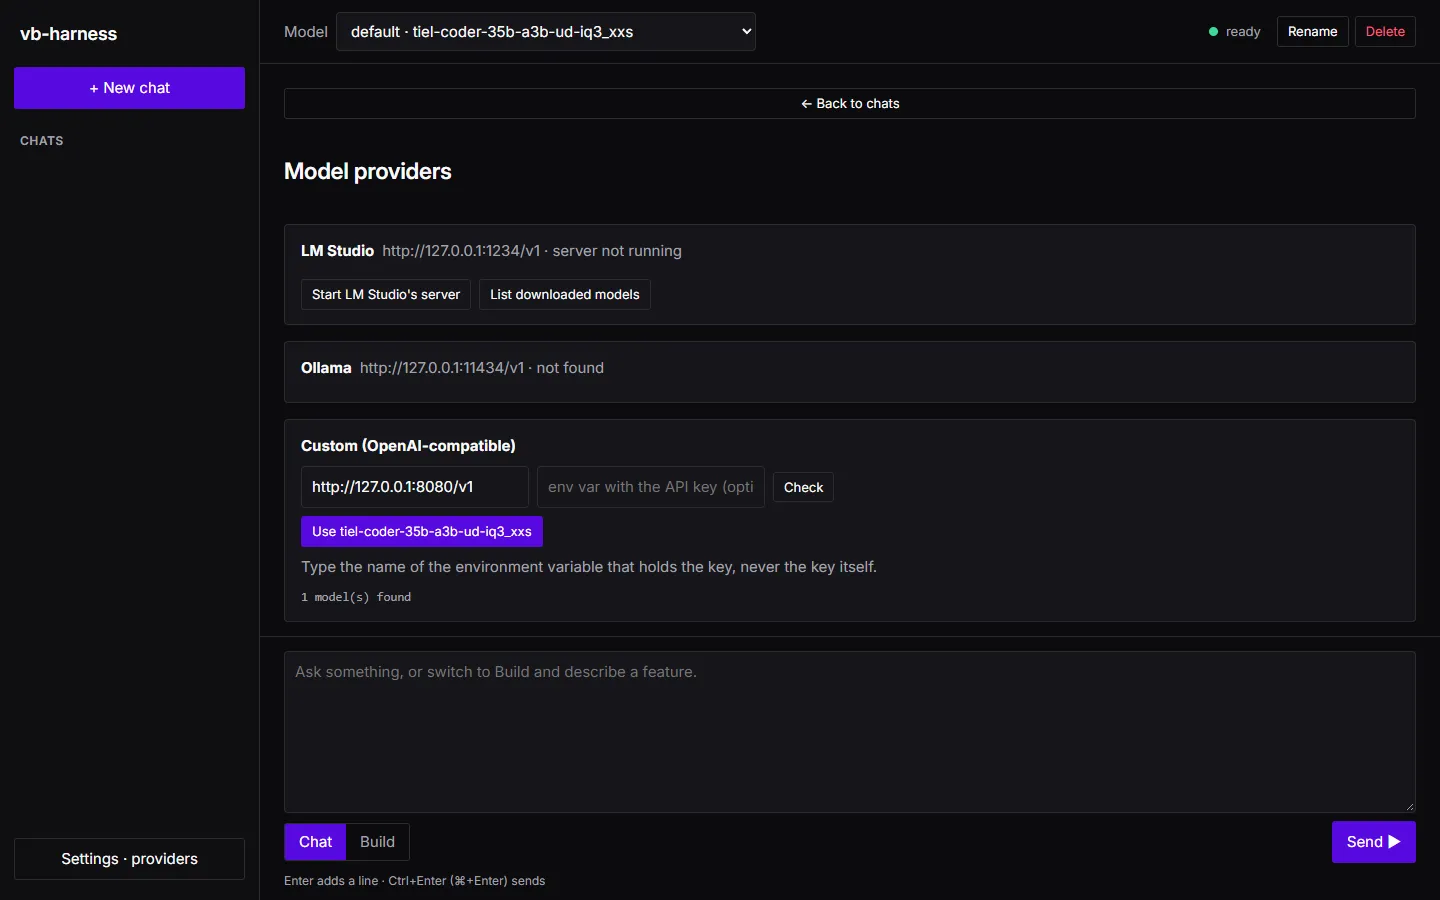
Connect a model (Settings · providers). The app looks for LM Studio and Ollama on this machine. You can start LM Studio’s server, load a downloaded model, or pull an Ollama model, each with one click. For any other server, enter its OpenAI-compatible URL and, if it needs a key, the name of the environment variable that holds the key (never the key itself). Choose Use on a model: the harness probes it and tells you what it found, for example “16K context, JSON mode: yes, tools: no, thinking can be turned off”.
-
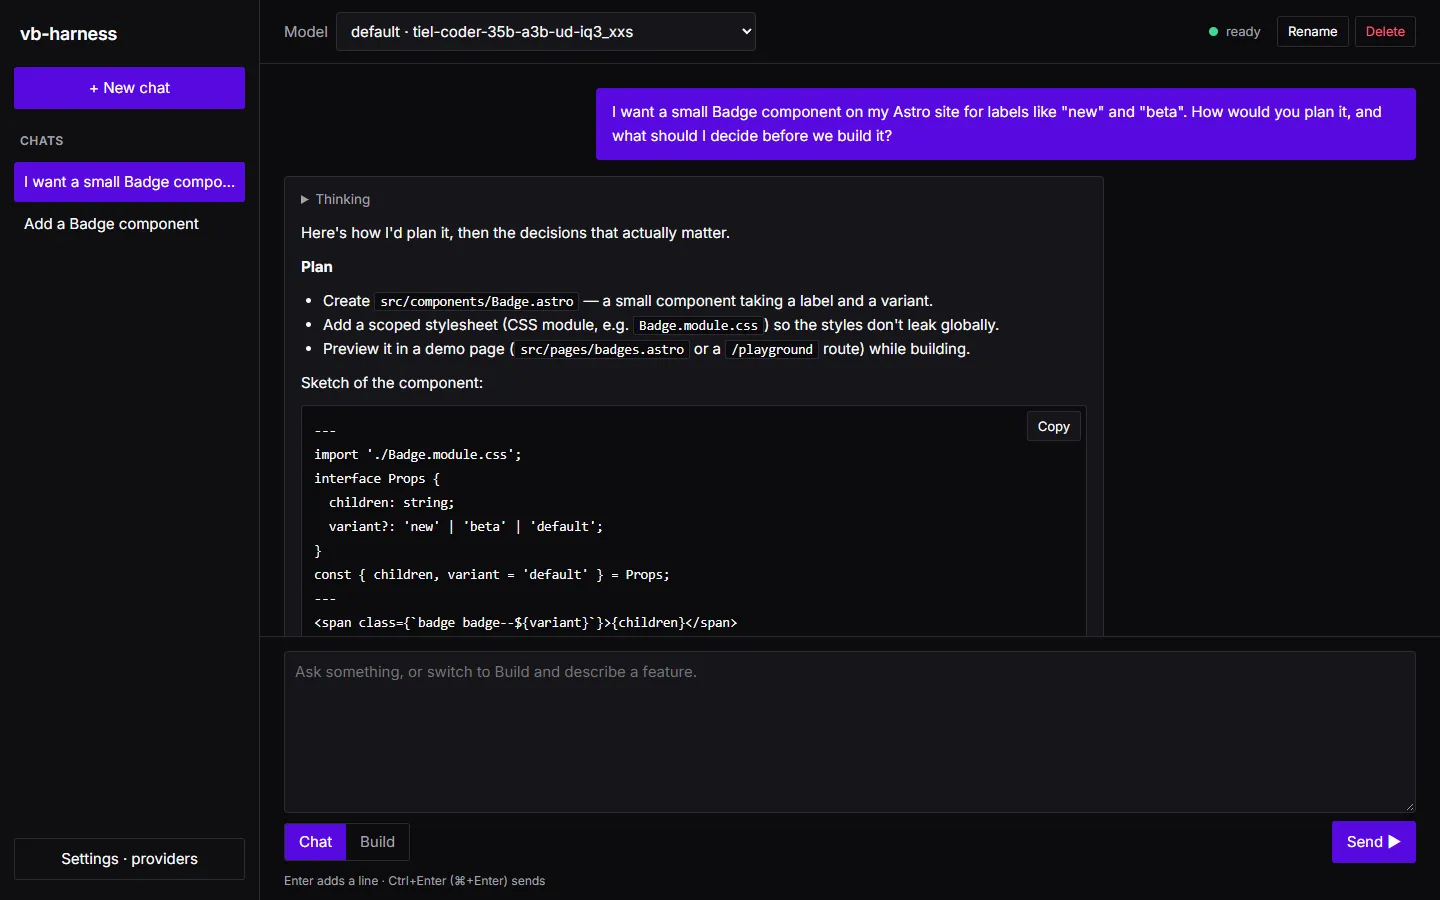
Chat. Chat mode is a planning conversation: work out what to build, compare approaches, sketch the steps. Ctrl+Enter (⌘+Enter on macOS) sends; Enter adds a line. Replies stream, and thinking text sits in a collapsed block. Chat changes no files.
-
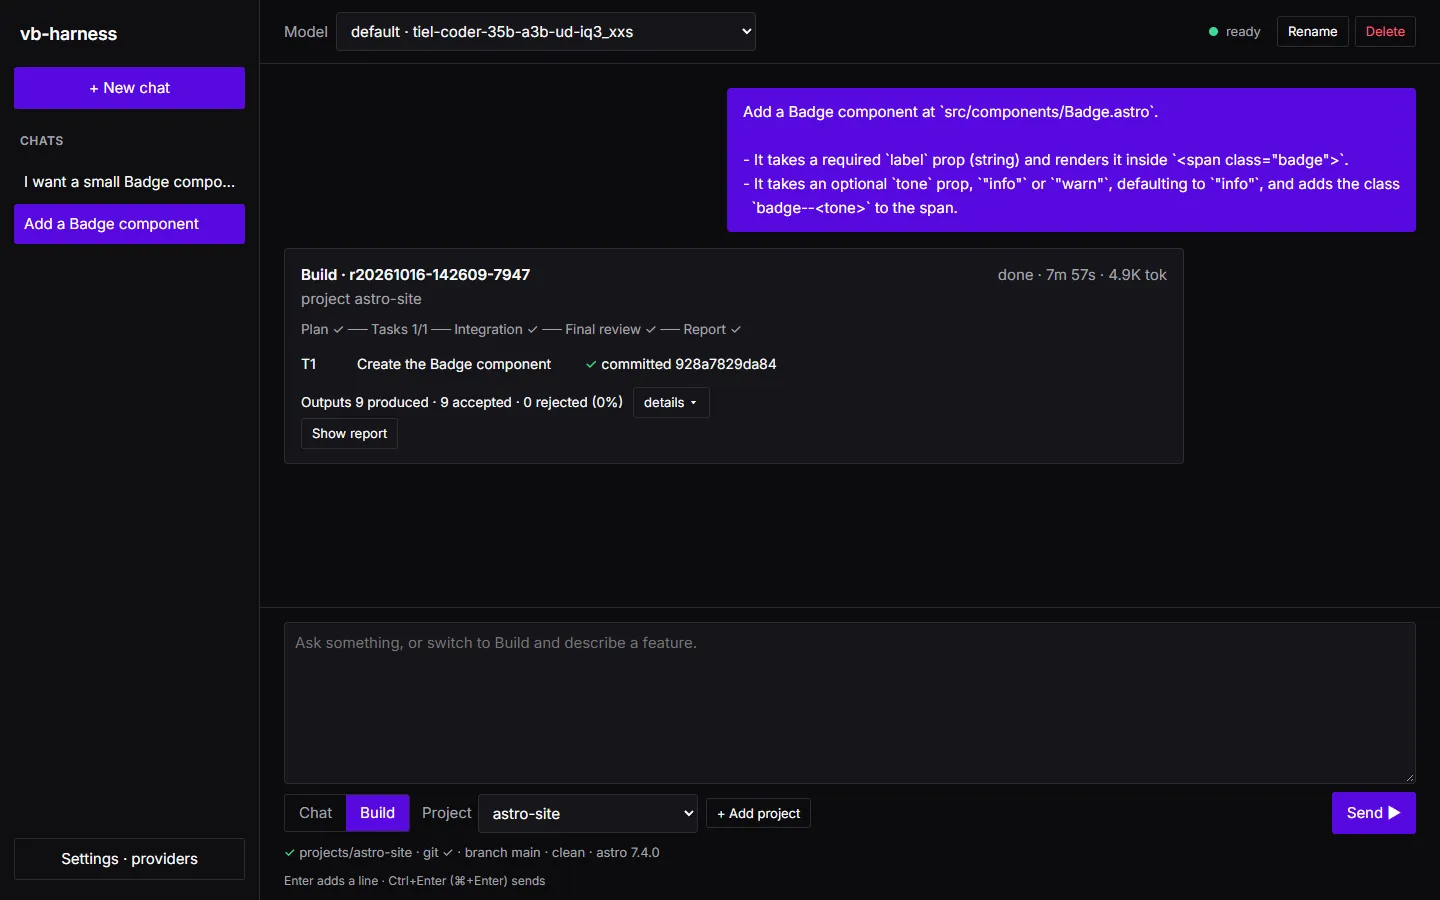
Build. Switch to Build, pick a project (or + Add project), describe the feature, and send. A live card shows where the run is, how many model outputs were thrown away and why. If the planner asks a blocking question, the card turns purple: answer in the text box, one answer per line. When the run ends, Show report opens the report.
The app only listens on 127.0.0.1, refuses other host names, and needs a per-start token for every change.
Built by V and Bruno LLC: Astro sites & AI tooling. Work with us →